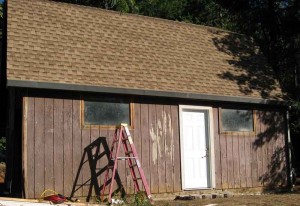
The garage probably has the original paint, and original T1 11 siding on it from 1985 and was maybe fixed up once or twice since. Needless to say it needed repair!
What started out with plans to sand, and re-paint the garage quickly turned into removing the old siding and replacing it with new siding.
This plan quickly faded when more than 75% of the nails were cracking off, or the heads were completely bending making it impossible to efficiently remove them, and the siding. To add more problems to the mix the siding was actually tucked up behind the gutter 4″! This would require the gutter to be removed which was is impossible without destorying the first line of shingles due to the extra nails, hangers, and how it was installed.
New plan, use plenty of caulking, clean up the old paint, and lay the new siding on-top the old siding.
This of course was not without new problems such as correct overlap on the front and back of the garage, and making sure the new siding was sucked up flat against the old siding, and that all the edges were caulked as extra security from preventing moisture from finding its way between the panels. We also decided to use the pre-primed t1 11 siding since it was supposed to rain the next day, this helped us out too since the backside was also primed now too.
6 or so panels later, minor framing inside/around the windows, numerous nails, and wood screws coming out of the senco screw gun we were done!
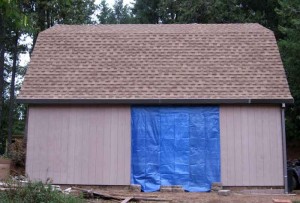
The front and rear trim adjustment for overlap was not bad, and looks great! Looking at it now no one would ever know it was doubled up.
The only thing left is to trim the door, prime (again), and paint.
The tarp was added to prevent any moisture from getting around the door, even though it was caulked a lot w/out the trim we are not taking any chances.
 Timberline Homestead A self sufficient homesteading life


One comment
Pingback: Priming T1-11 on the garage - Our Garage Our Self Sufficient Home