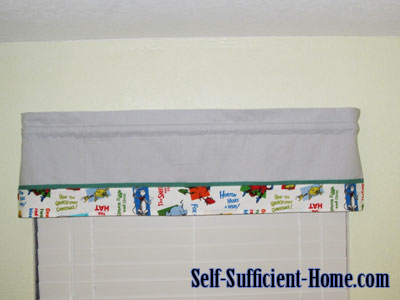
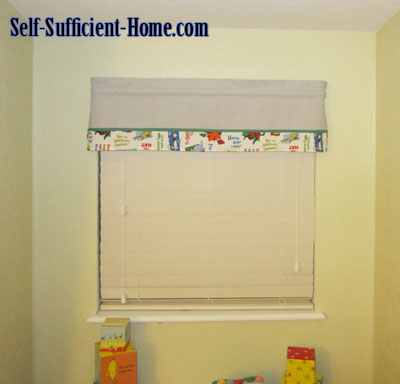
I recently posted my crib skirt project. Of course we need matching valances! I’ve used the same 3 fabrics for the curtains as I did for the crib skirt: a grey and white pin stripe, a teal solid, and Celebrate Seuss.
My desired end result was a flat valance not the ripply, ruffled kind. My measurement formula consisted of window width + seam allowance (I’m always generous here) + distance curtain rod sticks out from the wall (34 + 1 1/2 + 3).
I wanted roughly an 11″- 12″ long valance from top to bottom so my length measurements look like this:
12 1/2″ for the main fabric (8″ what you see from the front of the valance + 3″ to create pocket for curtain rod + seam allowance)
The teal strip doesn’t add any length.
The Seuss fabric will be about 3″ at the bottom of the valance + seam allowance.
I hope my measurements are making sense.
Fabrics are cut using my rotary mat, rotary cutter and omnigrid:
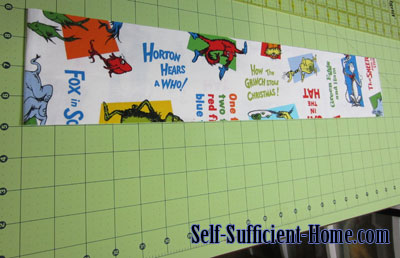
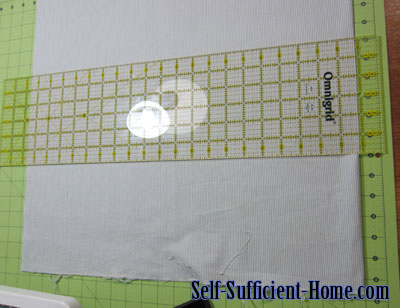
Pictures for the teal strip are in the crib skirt post. I’m using left over 1 inch wide strips for this project. Like the crib skirt project, these strips were pressed in half.
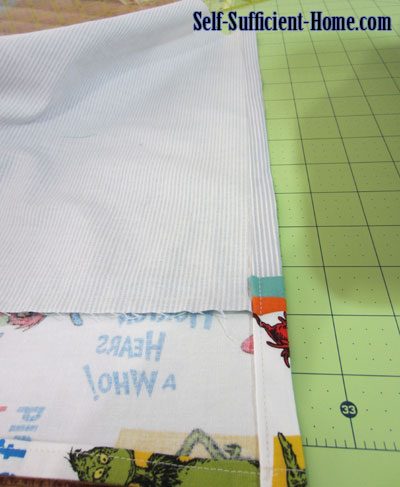
After everything is cut, I sandwiched and pinned the three fabrics together. Right side of main fabric up (grey and white stripe), teal strip with raw edges in the same direction as the rest of the fabrics, and Dr. Seuss fabric face down.
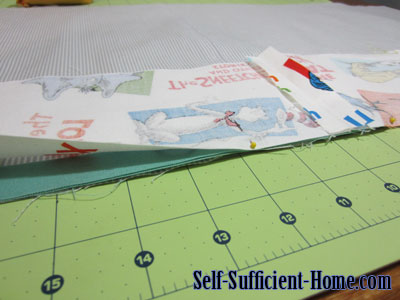
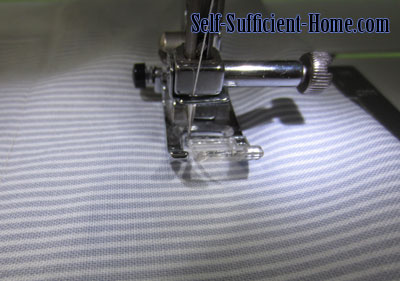
Once they’re pinned together, stitch.
Next, I created the hem along the bottom of the curtain. I did this by folding and pressing about 1/4″ up, twice.
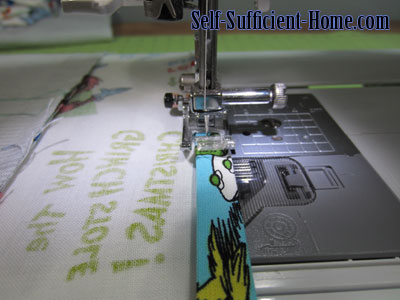
I then repeated this process on both sides and the top of the valance.
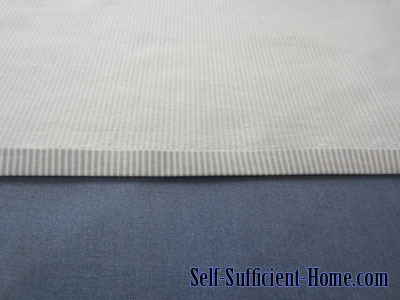
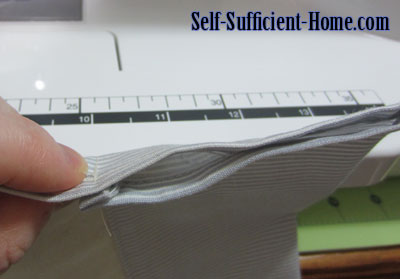
Now the fun part…time for the curtain rod pocket. Make sure these measurements will work for your curtain rod. I folded and pressed 3″ down, then stitched.
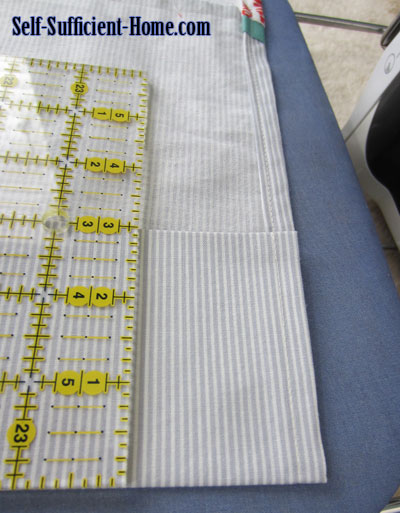
Then, follow up by stitching 1 1/2″ from the fold to create the rod pocket.
 Timberline Homestead A self sufficient homesteading life
