A lone yellow daffodil that sprouted through the wandering ground cover last spring gave me some motivation to plan a fall bulb flower patch our first fall season living in our house. It is a miraculous site in the gloomy days of early spring when its still too cold to bask in the sunshine and everything is a muddy mess to see a new flower emerge from the ground after being long forgotten. As is the case with many projects you’ll read about here, this was my first go round with bulbs (well, second including my “forcing narcissus bulbs” but that doesn’t really count).
Time flew by as it always does and by the time I had a chance to sit down and figure out what I was doing most online bulb suppliers were having their end of season sales with discounts from 30-60% off. Being on a budget I went with the site that gave me the most bulbs for my dollar and ended up ordering from tulipworld.com. I ended up with about 180 bulbs of different varieties for about $50.
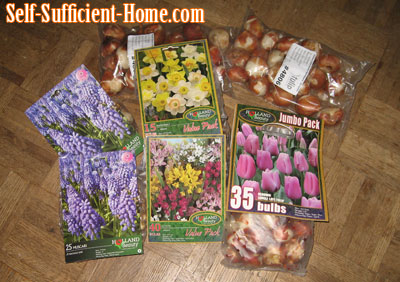
I did take some time to map out what was going where taking into consideration the bloom times, planting depth, and plant height to maximize the visual impact of the bulbs I ordered. A few different sites I did some research on recommended planting in layers and giving the bulbs more of a natural look by letting them fall into the spot rather than lining them in rows like toy soldiers.
First things first, there was a pesky blackberry bush that needed to be removed so these bulbs would have a home. We’ve decided to keep all the berry bushes isolated in one area so I didnt feel guilty about removing this one that was growing in the wrong place. Besides, it didn’t produce as much as the others anyway. The bulb plot is on a highly visible slight slope in the back “yard” that gets full sun and is situated next to a patch of mint.
The area with blackberry bush removed is about 3′ by 4′ and with it being sloped I thought the easiest way to work the “layers” would be to section the area off planting 1 section at a time.
This is the blue print I came up with and I apologize for the elementary quality.
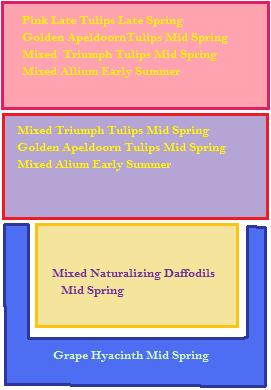
Sections 1 and 2 include varying heights and blooming times. The plan was to keep the tallest blooms in the back and the shortest in the front but some of the medium height tulips were mixed in the wrong section..oh well. I’ve seen pictures of grape hyacinth popping against the yellow daffodils and really wanted that effect.
With the plan in hand, the planting began. I dug the first (deepest) layer for the Pink Late Tulips that were to be planted 6-8 inches deep.
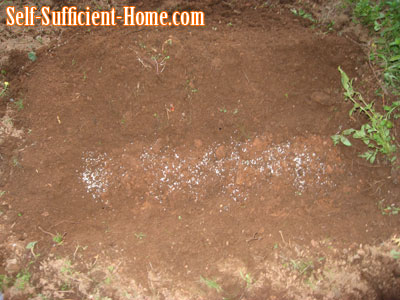
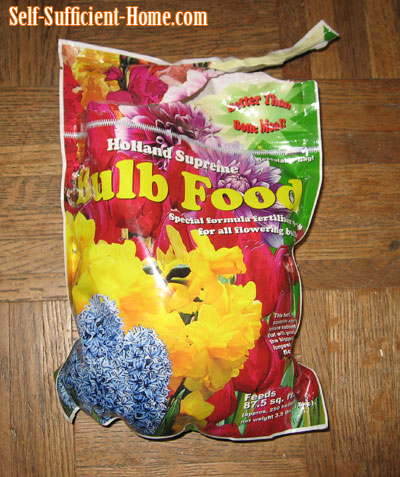
I mixed in the bulb fertilizer in this layer. I went with Holland Supreme Bulb Food which was sold from the same place as the bulbs. It’s a 9-9-6 fertilizer.
Next the bulbs were nestled into place.
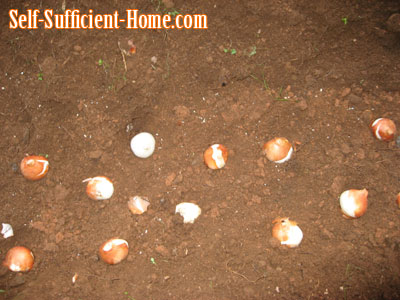
About 1 inch of soil was pushed over top of these bulbs and the next layer was planted. This was the 5″ deep layer for the Golden Apeldoorn tulips.
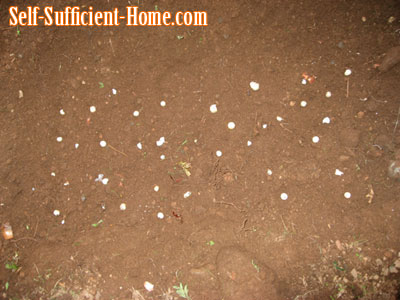
And the tiny allium bulbs which were to be planted 3″ deep.
That concludes the first section. The remaining sections were the same process just different bulbs and the pictures get to be a bit monotonous so I won’t bore you.
It’s mid November and the bulbs are in the ground and with little time to spare. The temperatures are probably a bit cooler than ideal and the rain has started. There were quite a few bulbs that didn’t fit into this plot so they’re patiently chilling in the fridge until warmer temperatures come to be planted in pots. I will post in the spring as soon as there is something to share!
 Timberline Homestead A self sufficient homesteading life