The downstairs bathroom is approximately 35 square feet (not including the shower) of awkwardly configured space. It was hard to get decent shots of the work so bare with me!
The before pictures have been misplaced but this room has changed a lot so I’m posting anyway.
After Demolition
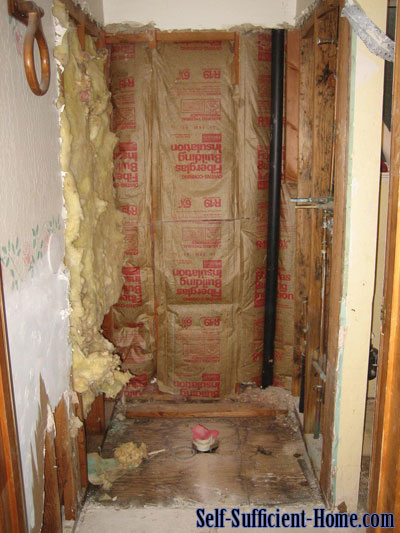
This is the shower area with the original fiberglass stall removed. New valves were installed.
On the other side of the partition on the right is where the vanity hookups are. Also note the drywall touching the floor has been removed because of black mold.
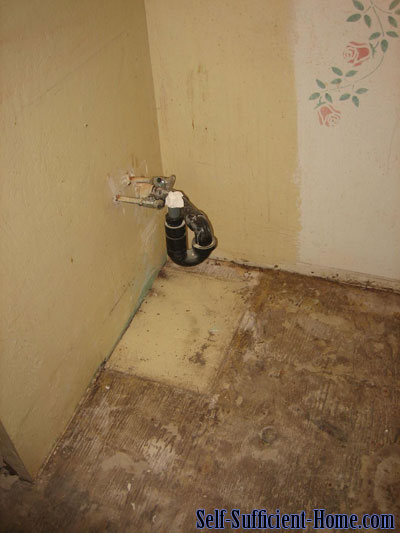
The vanity and floor have been removed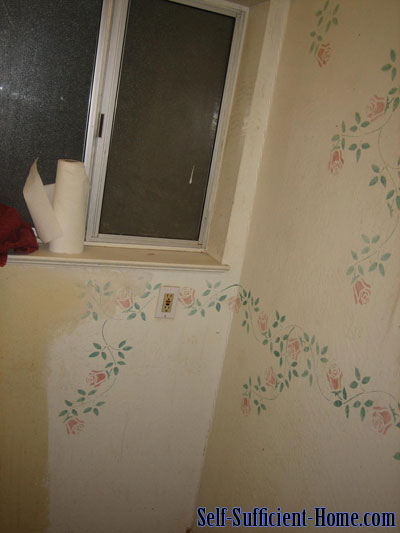
This is the backside of the vanity area; the window would be to your right side while standing at the vanity.
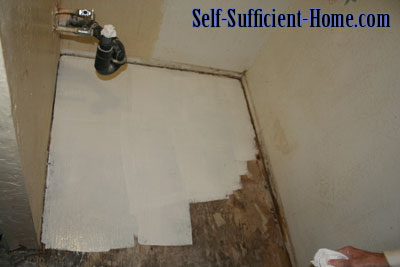
With all of the mold that was found in almost every room downstairs we tried to seal everything as much as possible. This is the Killz Oil Based Primer used to seal up the sub floor.
Progress
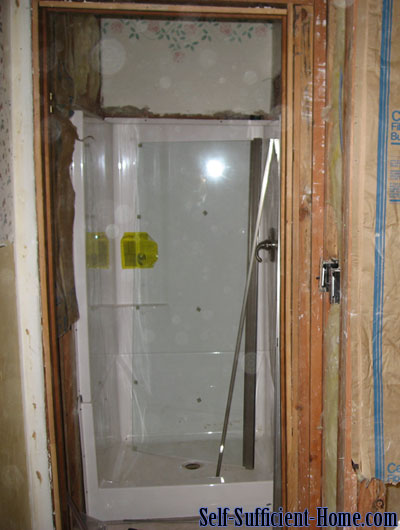
The new fiberglass shower stall installed.
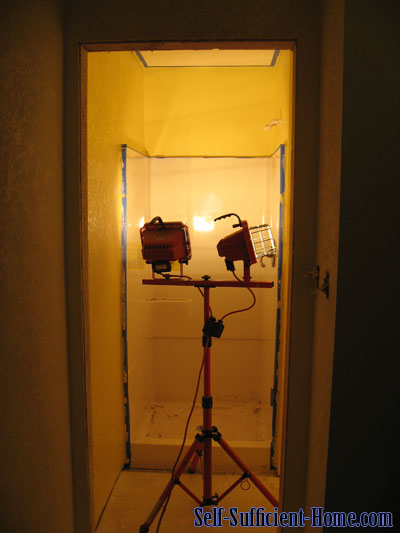
Drywall work completed around the shower and the entire room was re textured for consistency. At this point the walls and ceiling were primed and painted and drying with the warmth of the work lamps. This all took place in the middle of winter and it wasn’t easy warming up the rooms enough to get the paint on the walls.
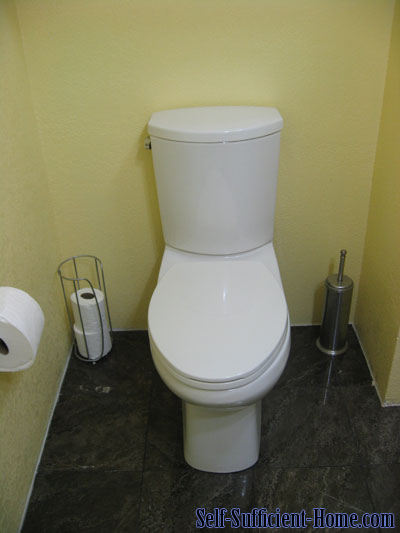
The brown marble tile floor was finished and the high efficiency toilet was installed. The toilet is a Jacuzzi brand although I’m not sure what the model is and uses less than 1.5 gallons per flush. A working toilet was a much welcomed luxury in the middle of winter for those late bathroom trips.
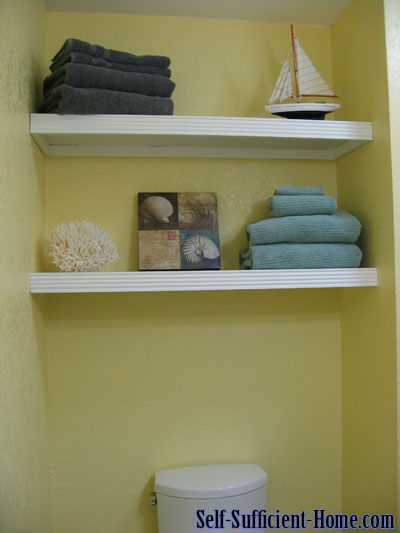
Built in shelves were added for storage. The lack of storage space in this small bathroom posed a problem for towel storage but these shelves were an easy solution.
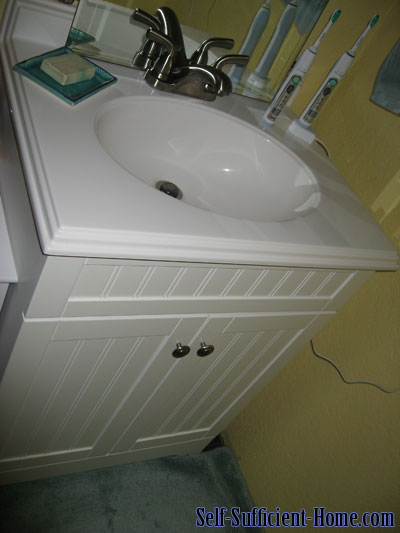
And the new vanity! Our choices were limited due to the size requirement. We had more room to expand width wise but a wider unit also meant a deeper unit and we pushed the space to the limit while still allowing enough room for the cabinet doors to swing open. Buying off the shelf at the store left us 1 option. This unit is 19″ deep… it’s a tight space but it works.
 Timberline Homestead A self sufficient homesteading life