We wound up with 13 chicks and a very motherly broody hen who needed a safe home. We recently moved Not Blanch into our mudroom, while she was hatching her eggs to get her inside out of the storm, but it didn’t take more than a few days for them to over-stink the room. It’s almost November and is getting colder and wetter by the day. Now that the hatching is complete and everyone has had a few days in a warmer, safe home, we’re ready to get a brooding coop built for the new family to move them back outside.
We feel pretty strongly about not separating mother from her babies, but we just don’t have enough room for them to stay indoors, nor do we feel that would be ideal for them. Plus, Not Blanch, our buff orpington, has proven that she is nothing less than a very dedicated, doting mother. I have great confidence that she will keep them warm, safe, and protected outside, if we provide a coop and run. The reason we are not moving them in with the other adult birds is because I just don’t know how the others will react to the babies, and we don’t want to stress anyone out if it can be avoided.
The chicken nursery coop was built to a 4ft x 4ft dimension, which was the maximum size we could build without needing to purchase more wood for the walls.
The floor was built first, then the walls were framed and leftover plywood was used on the exterior.
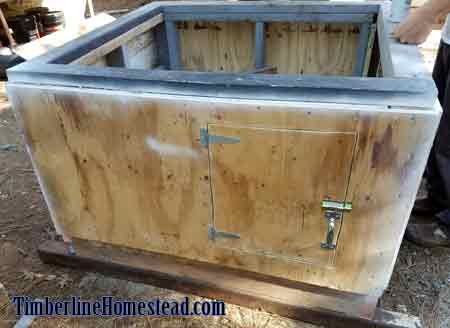
2 doors were installed on adjacent walls; a larger one for human access to allow for cleaning and feeding, and a smaller door that would open into the run for the chickens. The smaller door latches from the inside and is accessible only through the human access door. Our intention was to have a gateless chicken run, mostly for ease of construction, but also because at the time I didn’t see a need for us to get into the run if we could clean and feed from outside.
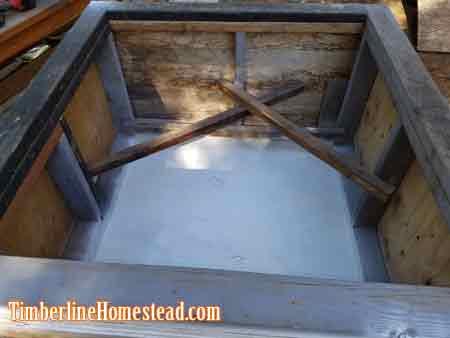
A coat of latex primer/sealer was sprayed on the floor. After the floor dried we installed some peel and stick tiles we had leftover from our mudroom floor (hoping for quick and easy clean-up).
Perches were installed at varying heights to accommodate the growing chicks.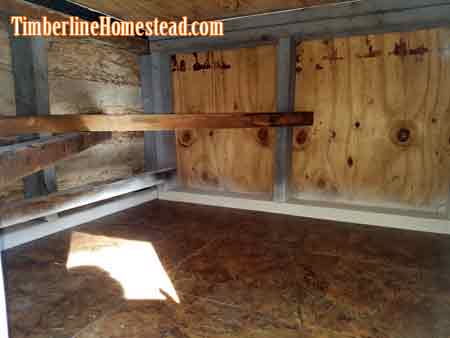
Plywood was installed as a subroof, then metal corrugated roofing with a substantial overhang for a covered outside area for the birds.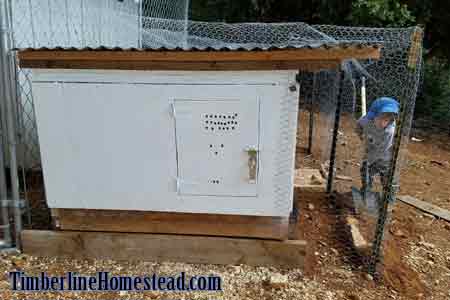
The entire chicken nursery was placed on a foundation of parallel railroad ties. This created a nice sheltered area under the coop for the birds to retreat to, as well as a bit of a jungle gym for them to play on and explore on the opposite end of the coop.
The last touch to the coop was the platform and access ramp. Again, scraps were used.
We started second guessing our choice of vent, which was purchased for this project, and ended up drilling a number of small holes in the door. The purchased vent, we worried, would allow too much air flow. The compromise was adding ventilation to the door, which can be replaced in the future if needed.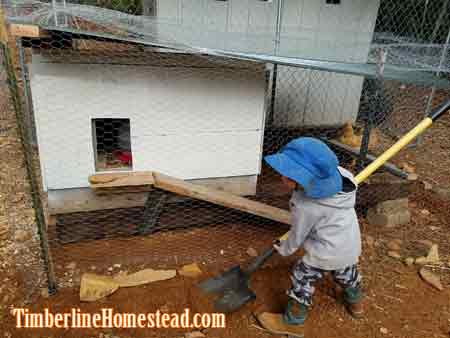
The chicken wire was secured to the existing fence, which is shared by the other chickens, and a handful of t-posts I sunk into the ground to about a 4.5ft height (so we wouldn’t have to double-up on the chicken wire). Chicken wire was wrapped across the top of the run and secured to the front of the coop with staples.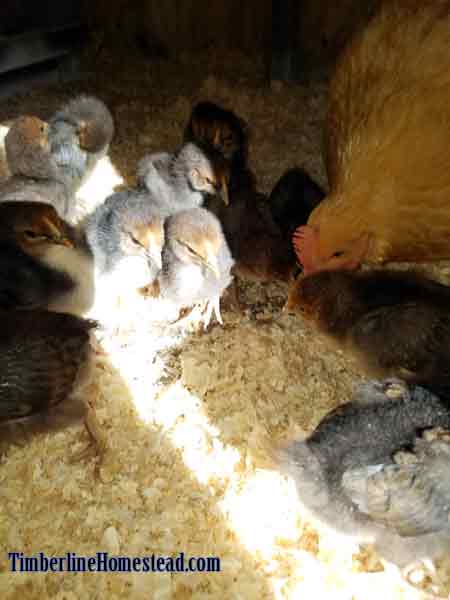
All the birds transitioned beautifully into their new home.
The final tally for supplies purchased for this project:
Door hinges and latches
corrugated roof
chicken wire (we didn’t purchase it for this specific project, but it was a new, unused roll; doesn’t count as re-purposed)
Vent (yet to be installed)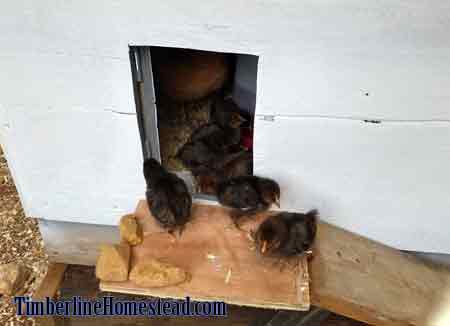
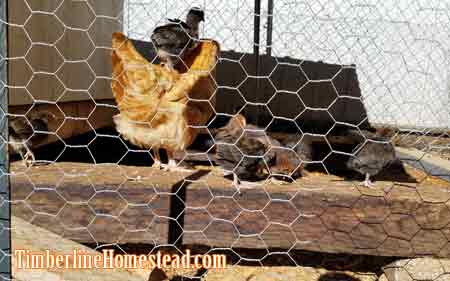
Update- Hind sight has proven that a gate should be added to any chicken run if at all possible. On 3 occasions I had to cut my way into the run to assist the clueless chicks on their return route into the coop. It took a full 36 hours before all of them knew what the purpose of the ramp was.
 Timberline Homestead A self sufficient homesteading life